How to build a raised bed with railway sleepers
Constructing a raised bed out of railway sleepers is amazingly straightforward. Think lego or wooden building blocks. Very quick & simple, with very little tools needed.
1) Chose where you want to put the raised bed
Consider where the raised bed will be positioned and whether you can stand or sit next to one side of the raised bed, or whether both sides are accessible.
2) Lay the railway sleepers on the ground.
Place the railway sleepers on the ground in a square or rectangular shape, with the railway sleepers touching at the 90 degree corners. (Like creating a big picture frame). The railway sleepers should ideally be laid on a surface that is level and firm. Many people simply lay them down directly on the earth, grass, deck or concrete. Perfectionists and Engineers will probably consider a foundation of concrete or hardcore, but more mortal people will often go for the simpler, quicker option. There are advantages of using something that will enable drainage of the raised bed, otherwise you are unintentionally constructing a raised pond !
3) Fasten them together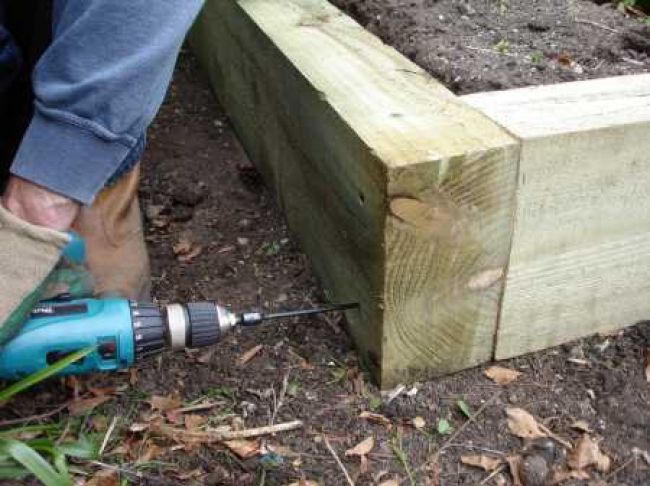
 Fasten the railway sleepers together with Timberlok sleeper screws (See website page for sizes and details) If you have placed the railway sleepers on the ground on their
narrow edge, as in the photo opposite, then simply screw them together at the 90 degree corners, allowing at least 50mm (or 2″) of the screw to go into the adjoining sleeper. Two screws per corner is a good solid formula.
If you have placed the railway sleepers on the ground on their wider edge, then again simply screw them together at the 90 degree corners, allowing at least 50mm (or 2″) of the screw to go into the adjoining sleeper. You will obviously need to screw through more of the railway sleeper than on the narrow edge option. The one exception is if you are intending to have a second layer. In this case, you don’t have to attach the first layer to itself. Simply place the second layer on top of the first (remembering to overlap the joints) and simply screw through the second layer into the first layer below) Repeat if you want a thrird layer. Again, at least two screws per sleeper end is a good solid formula. You have now created a structure that is interlocked, and could be picked up in one piece by a crane! (If you had the inclination !)
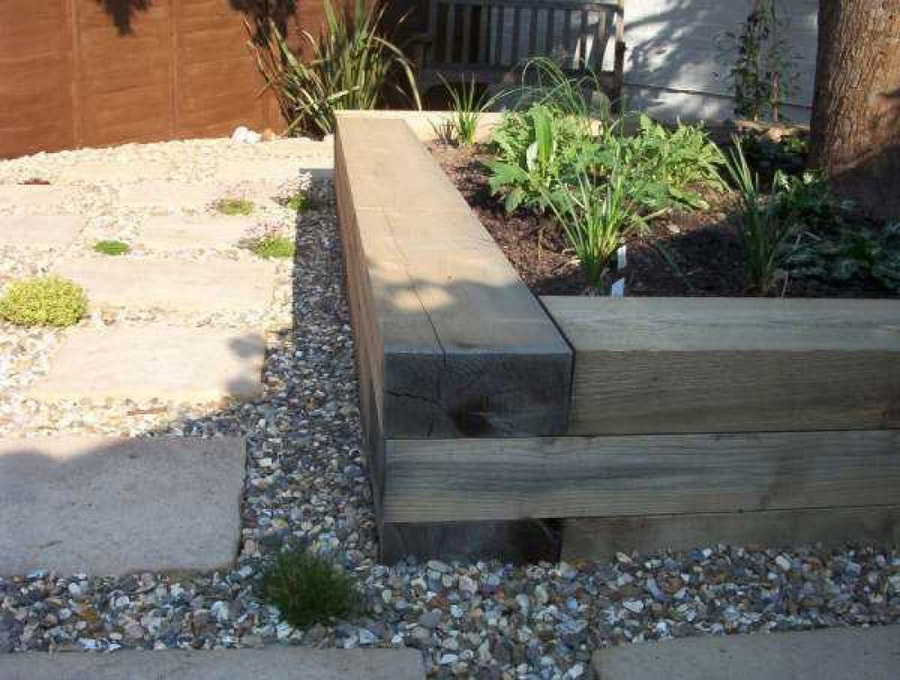
4) Stack and fix a second layer (if you want the raised bed to be higher)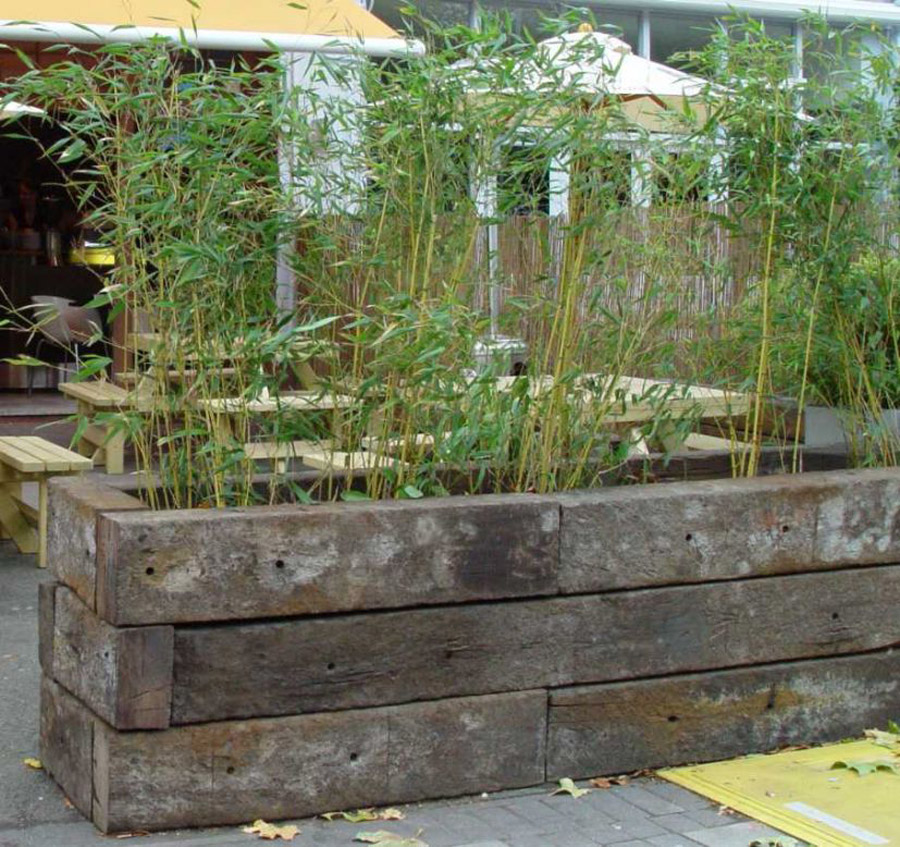 If you want a second or a third layer, simply repeat stage 2 & 3, apart from you are placing the second or third layer of railway sleepers on to the already positioned first layer. If you have placed the railway sleepers on the ground on their narrow edge, then simply again screw the second layer together at the 90 degree corners, as above, allowing at least 50mm (or 2″) of the screw to go into the adjoining sleeper. Two screws per corner is a good solid formula. Once you’ve done that, you will have two or more layers sitting on top of each other, but not attached TO each other. Simply now fasten the layers together with a screw that goes through the top layer to the layer below. If you don’t want this to be seen, screw at 45 degrees on the inside of the raised pond, through side of the top layer into the layer below. Alternatively, you can use a batten or metal strip to fasten the different layers together. The whole structure is now interlocked.
 If you are stacking the sleepers horizontally on their broadest side, e.g. on the 250mm width of a 250mm x 125mm sleeper, then all you need to do is to overlap the joints of the sleepers, from layer to layer, like building a brick wall, and fasten each layer to the layer below with timberlok screws or similar. You have now created a structure that is interlocked, and could be picked up in one piece by a crane, if you had the inclination!
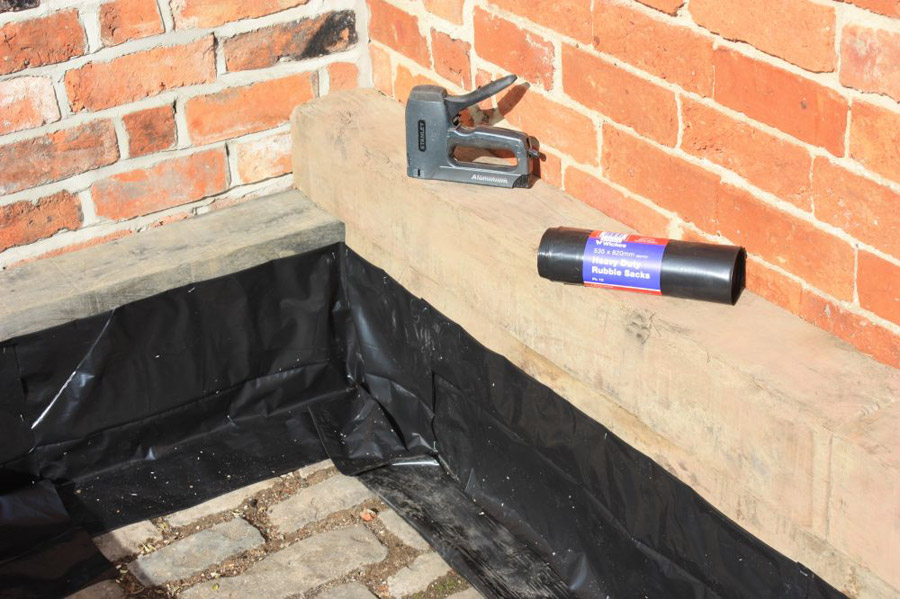
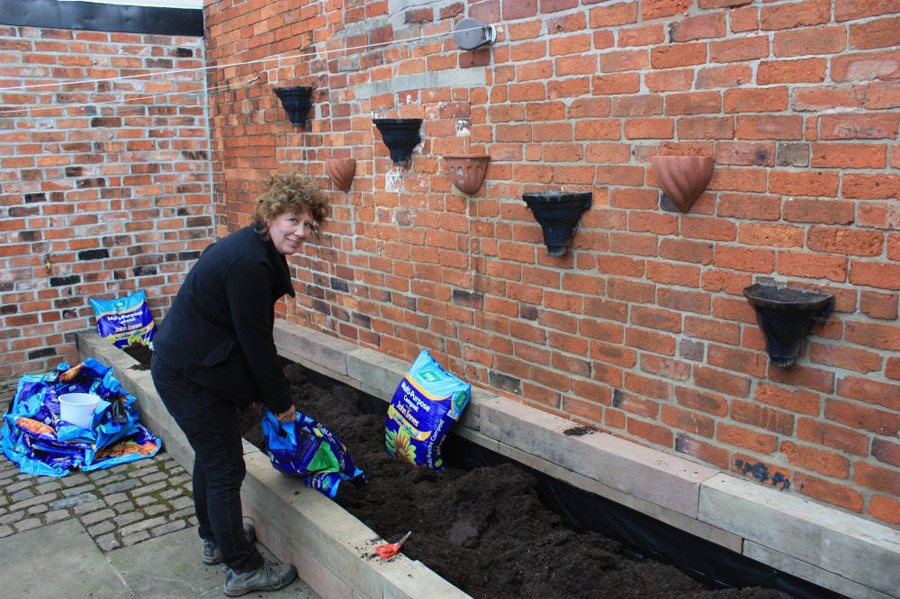
5) Attach a plastic membrane (see photo above – optional with raised bed)
Some landscapers chose to fix a plastic sheet on the inside of the raised bed, to create a barrier between the wet soil and the railway sleeper. Occasionally people will even use heavy duty plastic refuse bags, but normally landscapers use a thicker heavy-duty plastic that won’t degrade in the soil, like a builder’s damp proof membrane (DPC), that you can get in any DIY shop.
 6) Fill with soil
Before you fill with bags of compost, top soil or manure, it might be worth considering putting stone / bricks / hardcore etc.. on the bottom to encourage drainage. (Many people construct raised beds as a useful way of getting rid of / hiding unwanted bits of rubble etc..!) The great thing about using raised beds is that you can fill them with whatever type of soil that best fits your planting. e.g. lime hating rhododendrons, camellias, azaleas and heathers require a more acidic soil. Raised beds are more likely to lose soil nutrients sooner than ordinary beds, so ideally, a mix of 50 per cent mix of garden soil and 50 per cent peat or substitute compost with extra fertilizer should give you good results for your raised railway sleeper beds. You may need to top up your railway sleeper raised bed with soil or compost again in 12 months.
To improve keeping moisture in the bed, you can apply a top surface of your choice such as wood chip, bark or pebbles. The soil in the raised bed can take time to settle and may need topping up – this could take a few years in the highest of raised beds so some plump for just planting annuals or vegetables to start with and leave permanent plants for a later time.
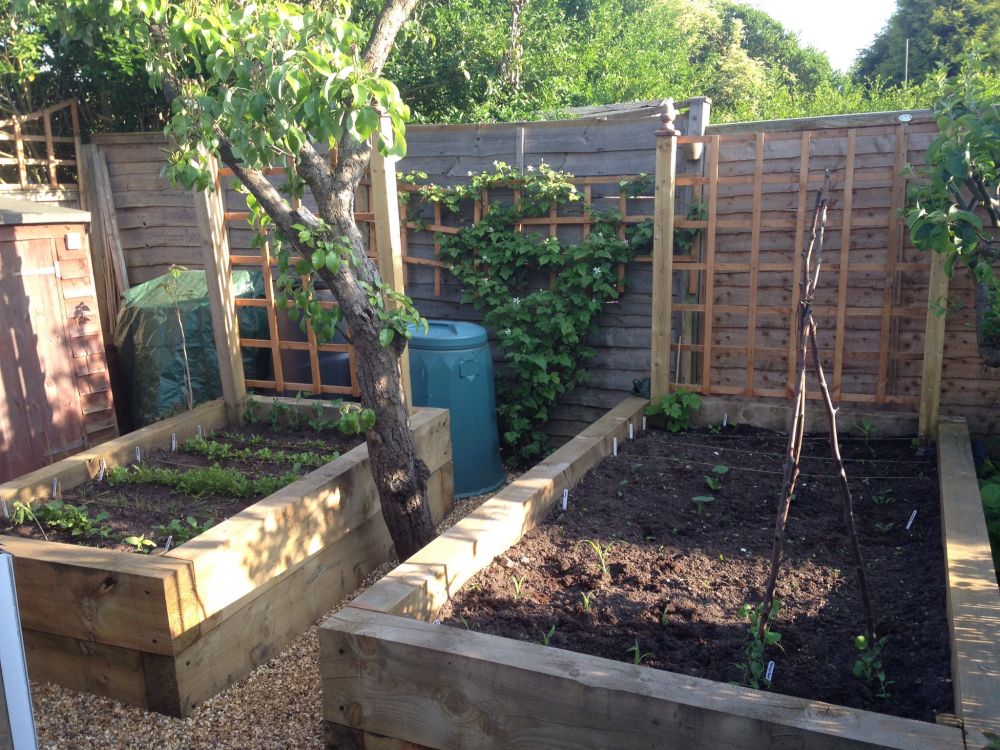
7) Fill with plants!
That’s the best bit!
OTHER QUESTIONS
 a) Which type of railway sleeper should I use?
There is a wide choice of railway sleepers, so it’s hard to say which one would be best for a raised bed. Whether you want a new crisp-lined raised bed, or an old, weathered raised bed, it is generally advisable to avoid creosote treated railway sleepers, that can ooze sticky tar in the summer, and get on skin, clothes, children, pets etc.. So, where does that leave you? What kind of non-creosoted sleepers can you use? Ideally, a choice of:
New British Pine railway sleepers
New French Oak railway sleepers
Used Australian Jarrah railway sleepers
Used African Azobe railway sleepers
 b) Height & width of a raised bed
Width: Of course you can construct a railway sleeper raised bed in any size, length or height you fancy. However if you want a raised bed which you can comfortably access from both sides without standing on the soil, you need it to be a maximum of about 1.2m wide. At this 1.2m width you should be able to easily reach all areas of the raised bed. If you can only access the raised bed from one side, the maximum width is going to be about 0.6m.
Height: The height of a railway sleeper raised bed will be determined by what’s best for you and how you want to use it. Think about whether you want to do your gardening standing up, sitting down, or kneeling, and whether you’d like to be able to sit on the edge of the raised bed. Generally speaking, an approximate height of around 900-1000mm is good for standing, 650-750mm is good for sitting, and 600-620mm is good for wheelchair use.
c) Advantages of a raised bed
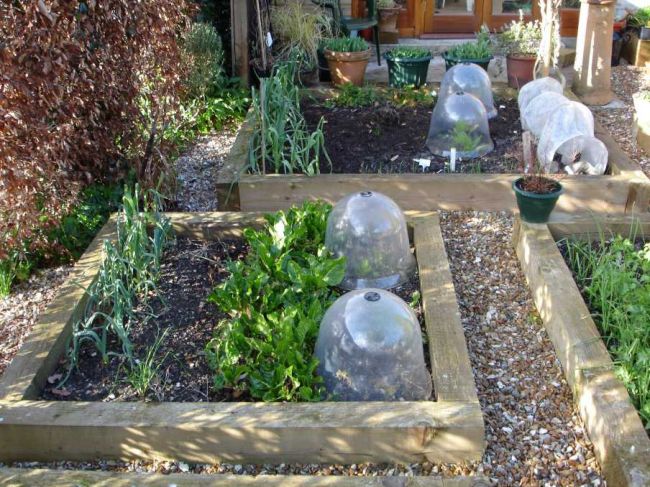
100’s OF RAISED BEDS!
PLEASE have a look at some of the 100’s of RAISED BED projects, on our railway sleepers projects page. It is a fantastic resource that will fill your head with wonderful dreams and ideas about making raised beds out of railway sleepers! If you can’t find what you are looking for, or need advice, then give us a ring.